05: Branching
UC Irvine - Fall ‘22 - ICS 45C
Quick list of things I want to talk about:
- if/else
- Scope (brackets)
- Logical operators
- Ternary operator
- switch-case
Expanded notes:
Right now, we can do i/o with the user and use variables. We can do a bunch with just that, but our programs can’t do different things based on conditions yet. So let’s see how we can add branching!
If-else
The simplest way to add conditionals is using if-elses.
The syntax for an if-else is like this:
if (CONDITION) {
  // things to do if true
} else {
  // things to do if false
}
It’s important to add the brackets!
They are not required, but if you don’t add brackets, only the line immediately following the if is nested.
For example, if you have this code:
if (x > 2)
  cout << "inside the if\n";
  cout << "not inside the if!!!\n";
The second cout statement would execute regardless of the value of x!
Although it’s indented “inside” the code-block, remember that C++ doesn’t care about spacing; scopes are defined with {}.
As a side note, notice how we don’t add ; after the if-statement.
Statements that control the flow of execution don’t usually require it.
Also, notice how we don’t have an else; they are optional.
Anyway, back to that example, the code would be equivalent to this:
if (x > 2) {
  cout << "inside the if\n";
}
cout << "not inside the if!!!\n";
The same thing happens to the else block.
If you don’t add brackets, only the line immediately after the else would be a part of it.
This:
if (x > 2) {
  cout << "inside the if\n";
} else
  cout << "inside the else\n";
  cout << "not inside the else!!!\n";
Would be the same as:
if (x > 2) {
  cout << "inside the if\n";
} else {
  cout << "inside the else\n";
}
cout << "not inside the else!!!\n";
The only situation I can think of where you don’t want to add brackets is when you want to have multiple conditions.
In this case, you want to link the else statement to a new if.
For example:
if (x == 0) {
  cout << "x is zero!\n";
} else if (x == 1) {
  cout << "x is one!\n";
} else {
  cout << "x is neither one or zero.\n";
}
The else if is two separate statements!
Since an else without brackets would run only the immediate instruction, the only thing inside that else is the if!
When you link if-else blocks this way, once you go into one of them, all others will be skipped.
Similar to if-elif-else blocks you might’ve used in python.
That code would be equivalent to this:
if (x == 0) {
  cout << "x is zero!\n";
} else {
  if (x == 1) {
    cout << "x is one!\n";
  } else {
    cout << "x is neither one or zero.\n";
  }
}
Operators
Comparison
- equals:
== - not:
! - not equals:
!= - greater than:
> - greater than or equal:
>= - smaller than:
< - smaller than or equal:
<=
Logical operators
- and:
&& - or:
||
Note how we have two symbols for and/or.
It’s important to use && and ||!
Using a single &/| means a bit-wise and/or, not a logical one.
For example, 2 & 1 is equal to 0, which evaluates to false.
2 && 1 would evaluate to true.
Ternary operator
If you’re doing a simple condition check to choose between two values, you might be able to replace your if/else with a ternary operator. The ternary operator has a syntax of:
(CONDITION) ? VALUE_IF_TRUE : VALUE_IF_FALSE
For example, if you have some code like this:
if (x > 10) {
  y = 1;
} else {
  y = 2;
}
You could replace it with:
y = (x > 10) ? 1 : 2;
Switch-case
Another type of branching available in C++ is the switch statement.
switch allows you to have different cases where you compare the exact match of a value.
The syntax for a switch statement is as follows:
switch (VARIABLE) {
  case VALUE_1:
    // statements if VARIABLE == VALUE_1
    break;
  case VALUE_2:
    // statements if VARIABLE == VALUE_2
    break;
  ...
  case VALUE_N:
    // statements if VARIABLE == VALUE_N
    break;
  default:
    // STATEMENTS if VARIABLE didn't match any case
    // works like a trailing else
}
Notice the break statements at the end of each case.
Each break tells the program to finish the switch, so if you don’t have a break, the next case will also execute, even if the value doesn’t match.
In other words, once your variable matches a case, all code that’s nested inside any following cases will be executed until you reach either a break or the end of the switch.
The default case acts like an else statement, if the variable didn’t match any previous case then you go inside the default.
For example, let’s say you have some code like this:
#include <iostream>

using namespace std;

int main() {
  int x;
  cin >> x;

  if (x == 0) {
    cout << "x is zero\n";
  } else if (x == 1) {
    cout << "x is one\n";
  } else if (x == 2) {
    cout << "x is two\n";
  } else if (x == 3) {
    cout << "x is three\n";
  }

  return 0;
}
You could replace this with the following switch statement:
#include <iostream>

using namespace std;

int main() {
  int x;
  cin >> x;

  switch (x) {
    case 0:
      cout << "x is zero\n";
      break;
    case 1:
      cout << "x is one\n";
      break;
    case 2:
      cout << "x is two\n";
      break;
    case 3:
      cout << "x is three\n";
      break;
  }

  return 0;
}
Now, let’s check what happens if we remove the breaks.
For example, if you change the previous switch statement to be like this:
switch (x) {
  case 0:
    cout << "x is zero\n";
  case 1:
    cout << "x is one\n";
  case 2:
    cout << "x is two\n";
  case 3:
    cout << "x is three\n";
}
If x is 3, then nothing will change on the output.
You’ll only see the last message.
But is x is 2, you’ll see the last two couts.
If x is 0, all cases will execute, and you’ll see all 4 messages.
This gives you flexibility.
Maybe you don’t want to always execute multiple cases together, so you can add a break.
But sometimes, it comes in handy to skip them.
For example, if you’re writing a program menu and want to account for lower/upper case:
switch (option) {
  case 'Q':
  case 'q':
    quit = true;
    break;
  case 'H':
  case 'h':
    cout << "hello!\n";
  // and so on...
}
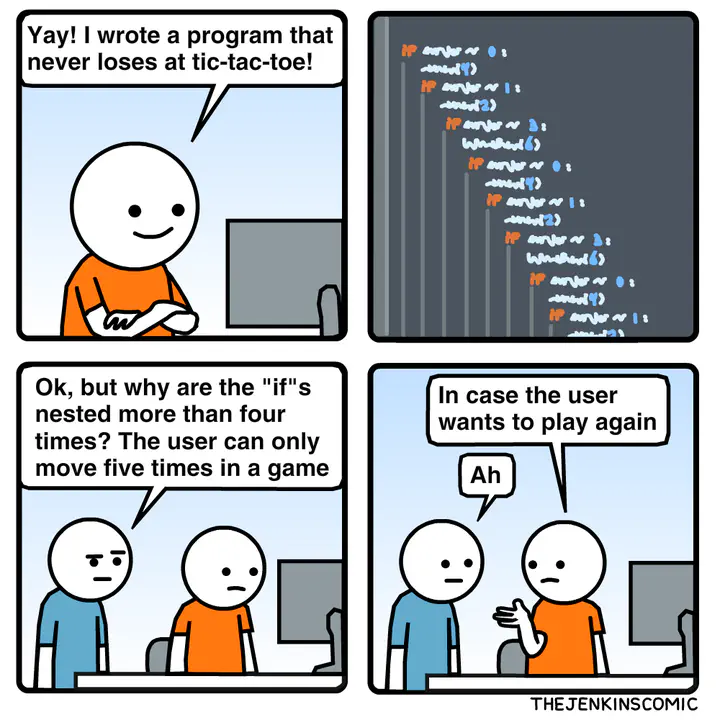
References
- Comic reference: https://thejenkinscomic.wordpress.com/2020/07/09/if/